It’s my turn to try out the delicious look of the board and batten in my home. I’ve been stalking any blog post I could find that mentioned it and really loved how easy
Karla @ It’s the Little Things and
Décor Chick made it sound. Then I procrastinated for about a century because I was sure the texture on my walls would be too obvious and look awful!
So to help convince myself, I Photoshopped some pics of my walls.

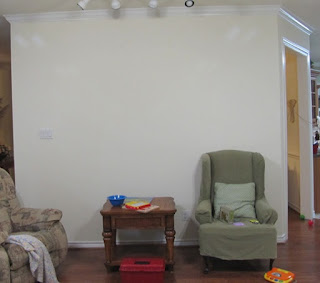
Before - right wall
Photoshopped - right wall
Before - left wall
Photoshopped- left wall
(
Did I not warn you before that this room is usually covered with toys?) <-- Follow this link for more before pics too.
Still unsure, I cut strips of paper and hung them on the wall. I’m a very visual person and this really helped me to decide placement and size. I moved the strips around until I was happy and felt a little more confident. In the end I decided on 2-1/2 inch wide battens and placed them 16 inches apart - each one on a stud. By doing this I knew they were evenly spaced and securely attached. For the header, I picked a 3-1/2 inch wide board.

I wanted something more substantial than the lattice board that Décor Chick used. Instead I chose 3/4 inch thick primed mdf board in the widths I wanted. Per sqft the price was actually less than the lattice and it was pre-primed!
So, finally I took the plunge and put three coats of semi-gloss white paint on the walls. There was no turning back.

I had pre-painted the battens a few weeks ago. Then after lying in bed with the flu (and a million episodes of Rehab Addict later) I finally got them nailed up this weekend. We love them!!!


I’m still considering to add a small plate ledge on top to place things on as Karla and Décor Chick did, but I couldn’t wait to show you this completed step in our family room redo! More ideas in store…
Rebecca
Linking up at...


